Last updated November 18, 2026





Free written scope consultation - allowances, timeline, and change-order rules on paper before a single trade is scheduled
Kitchen Remodeling Troubleshooting: Common Problems and How to Fix Them
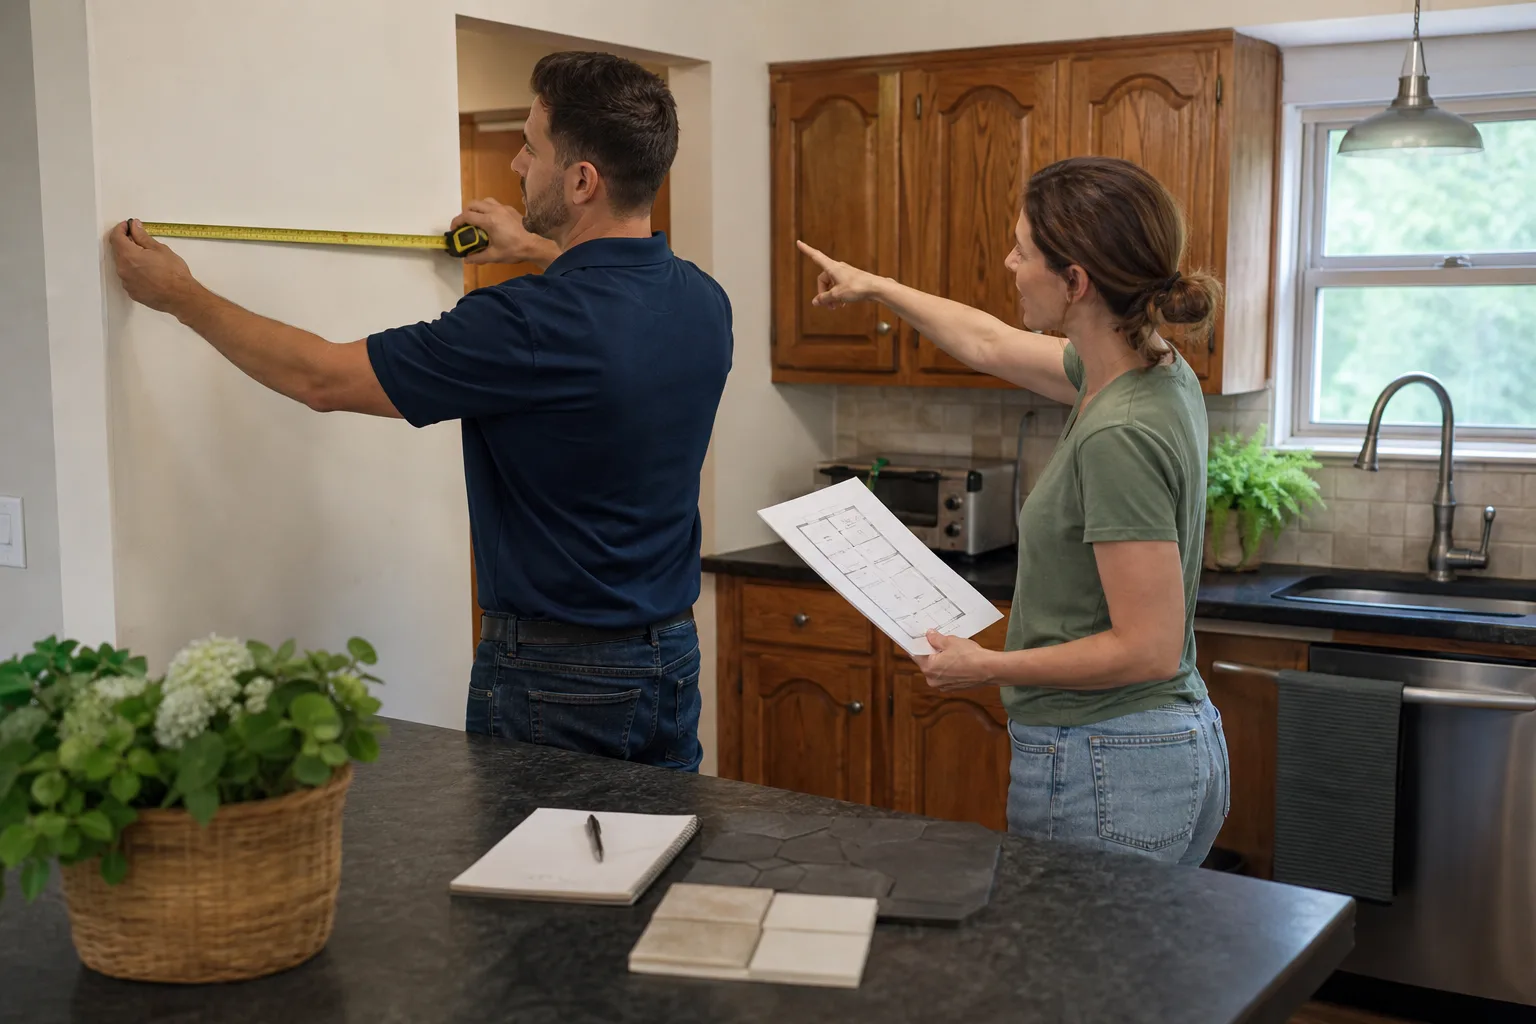
The single most common mid-project kitchen remodel dispute we see isn’t about materials or money. It’s a refrigerator rough-in framed for a standard 36-inch unit while the homeowner bought a 36-inch counter-depth model that protrudes 4 inches past the cabinet run. That gap doesn’t show up until the appliance lands. By then, cabinets, countertops, and a finished wall are riding on a measurement nobody wrote down. This guide walks through the four failure points where kitchen remodel problems cluster – layout changes that weren’t fully scoped, appliance rough-ins that don’t match the actual unit, finish work out of sequence, and cabinets hung on walls that weren’t plumb – and gives you the real fixes for each. If you’re remodeling in Concord, the answers here are built around how kitchens actually get built here.
Quick Answer
Most kitchen remodel problems mid project come from one of four causes: an unscoped layout change, an appliance rough-in that doesn’t match the purchased unit, finish work installed before inspections and rough-ins were approved, or cabinets set on out-of-plumb walls. The fix depends on which category you’re in. Cosmetic punch-list items get corrected at close-out. Structural or functional defects get stopped and corrected immediately. The difference between those two is worth tens of thousands of dollars in rework, and knowing which is which is the first move.
Styles & brands we work with
- Kitchen remodeling
- Bathroom remodeling
- Home additions & ADU
- Roofing
- Windows & doors
- Driveway & pavers
- Fence
Table of Contents
- How to tell an installation error from a product defect
- The sequencing error that costs the most money
- Appliance rough-in specs that must be confirmed before framing
- Cabinet gaps, misalignment, and door swing problems
- How to document an in-progress dispute
- Punch-list items vs. defective work
- Why Concord kitchens fail in specific ways
- Common mistakes to avoid
How to Tell an Installation Error From a Product Defect
This is the split that sends homeowners in the wrong direction. When a cabinet door drags or a drawer front sits proud of the run, you’re looking at one of two things: the installer set it wrong, or the cabinet itself shipped out of spec. The warranty claim and the call you make go to different places, so getting the diagnosis right matters.
Here’s how a professional sorts it. First, read the product spec sheet that shipped with the cabinet. KraftMaid and Wellborn both publish tolerance ranges for door reveal, box squareness, and drawer front alignment. If the gap in your kitchen falls inside those tolerances, the cabinet isn’t defective. If it falls outside, the cabinet is, and that’s a manufacturer conversation, not an installer conversation.
Second, check the wall. A long run of cabinets set against a wall that’s out of plumb by half an inch will show a door reveal that opens at the top and closes at the bottom. That’s not the cabinet’s fault. It’s what happens when you shim a box into a wall that was never straightened. We see this in Concord’s older housing stock where plaster-over-lath walls have settled over decades. The fix is straightforward (fur out the wall, reset the box, re-shim) but only if you know what you’re looking at.
- Product defect: box is out of square, door panel is warped on a flat surface, finish is peeling from factory, drawer front is a different dimension than its neighbors out of the crate.
- Installation error: consistent reveal width differences across a run, cabinet hanging off a wall that’s out of plumb, doors that hit the frame because the box is racked, drawers that drag because the box wasn’t leveled front-to-back.
- Both: box is fine, but the installer buried it in a wall that should have been furred out first.
Document what you find with photos before anyone touches it. If it’s a defect, the manufacturer wants the shipping spec and a photo of the gap with a tape measure in frame. If it’s an install problem, that’s the contractor’s conversation. Split it clean.
The Sequencing Error That Costs the Most Money
The most expensive corrective work in kitchen remodeling happens when tile or countertops go in before the plumbing rough-in is inspected and approved. It’s a sequencing error, and it lands hard. Here’s why.
Plumbing rough-in means the pipes and drains are roughed into the wall or floor but not yet connected to fixtures. In most jurisdictions, that work has to pass a rough inspection before it gets covered. If a tiler sets backer board and tile over an unapproved rough-in, and the inspection later flags a problem (wrong pitch on a drain, improper venting, wrong fitting), the correction means tear-out. Tile comes up. Backer board comes up. Any protective waterproofing goes with it. You’re not fixing a valve; you’re rebuilding the substrate underneath.
Countertop work has a parallel failure. If a sink cutout gets fabricated and set before the plumbing supply lines and drain are confirmed, and then the drain doesn’t line up with the rough opening, you’re looking at cutting a second hole in a slab. Cambria and Caesarstone slabs are cut to measure; recutting one on-site is not a cosmetic operation. The old hole stays visible or the whole piece gets scrapped.
What “approved” looks like:
- Plumber completes rough-in of supply, drain, and vent.
- Local inspector signs off on the rough-in (this varies by jurisdiction; in Concord it’s through the city’s building department).
- Contractor proceeds with waterproofing, backer, and tile.
- Sink and faucet go in only after tile and stone are set and cured.
If your general contractor is ready to tile a floor where a plumber has been and gone but there’s no inspection sticker, stop the job. Ask for the inspection sign-off. A general contractor in Concord who runs a disciplined site will have that paperwork in hand before the tiler starts.
Appliance Rough-In Specs That Must Be Confirmed Before Framing
This is where the opening example lives, and it’s the most preventable category of kitchen remodel problems. The rough-in is the framing, wiring, plumbing, and venting that has to be sized to a specific appliance. When the rough-in is framed to a “standard” dimension and the appliance is purchased later, they don’t always match.
Get these in writing before the first stud goes up:
- Refrigerator depth: standard vs. counter-depth. Counter-depth units are shallower but often wider or taller. The framing, cabinet run, and any built-in panel have to be sized to the actual model, not the category.
- Range hood CFM and duct diameter: a hood rated for 600 CFM needs a duct diameter sized for that volume (typically 6 or 7 inches, sometimes 8). A 4-inch duct with a 600 CFM hood is a performance problem waiting for a winter night. Also confirm whether the duct exits through the wall or the roof and whether a make-up air system is required at that CFM.
- Dishwasher electrical and plumbing: confirm whether the unit needs a dedicated 20-amp circuit (most do), where the water supply and drain connect, and whether the drain has an air gap or a high loop to the disposal.
- Microwave circuit: a built-in or over-the-range microwave carries its own circuit requirement. A countertop unit running on the general small-appliance circuit is one thing. A hardwired or dedicated-circuit install is another.
- Wall oven and cooktop: each has its own electrical or gas requirement, and each has a rough opening dimension that has to be confirmed against the actual model.
We’ve seen more than one project where the rough-in spec sheet was marked “standard 36-inch fridge” and the homeowner bought a French-door counter-depth that needed 36 inches of width but 29 inches of depth with a 4-inch protrusion the cabinet run wasn’t accounting for. That’s a $3,000 to $6,000 correction if the cabinets are already in. Get the actual model numbers on paper before framing starts. Every appliance spec is a dimension on a drawing, not a conversation.
Cabinet Gaps, Misalignment, and Door Swing Problems
When a cabinet run looks wrong, three questions break it down. Is the problem the box, the wall, or the door? Each has a different fix and a different person responsible.
The box itself. Level and plumb. Put a 4-foot level across the cabinet faces. If it’s out of level by more than a sixteenth of an inch across the run, the cabinet wasn’t set correctly. The fix is unset and reset, not “adjust the hinges.” Doors and drawers on a racked box will never close right no matter how much hinge adjustment gets thrown at them.
The wall behind the box. If the cabinet is level but the gap between cabinet and wall grows from one end to the other, the wall is out of plumb. In Concord’s older homes (much of the housing north of downtown dates to the 1950s and 1960s), settling and plaster-on-lath surfaces are common. The fix is a furring strip or a filler piece, set before the cabinets go up, not a shim stuck behind one box. A kitchen remodeling in Concord crew that’s worked this housing stock knows to check wall plumb before unloading. We’ve seen beautiful cabinet runs ruined by a homeowner insisting the wall was straight.
Door swing problems. A door that hits the wall, the adjacent cabinet, or a drawer front isn’t always an install error. Sometimes it’s a door that should have been hinged the other way, or a cabinet placed too close to a corner where a full swing isn’t possible. Hinge changes are cheap. Relocating a cabinet is not. Catch it before the cabinets are fastened.
When in doubt, get the spec sheet. Cabinet manufacturers publish hinge adjustment ranges and door swing clearances. If your door problem falls outside those ranges, it’s a product issue. If it falls inside, it’s an install or planning issue. Wrong conclusion, wrong phone call.
How to Document an In-Progress Dispute so It Holds Up
If a kitchen remodel goes sideways mid-project, the homeowner who wins the argument isn’t the loudest one. It’s the one with the documentation. Here’s what a defense-ready file looks like.
- Photos with context. Every issue gets a photo with a tape measure or a straightedge in frame. Close-ups of cracks or gaps don’t help alone; you need the surrounding context so someone downstream can see what and where.
- Written notice to the contractor, dated. A text or email that describes the issue, the date observed, and what you’re asking for. A phone call counts for nothing later. Put it in writing, keep the copy.
- Payment hold on the disputed portion. Never withhold an entire payment. Withhold only the amount tied to the disputed item. This is the single strongest lever a homeowner has, and doing it narrowly keeps the rest of the project moving.
- The written price quote and scope. If the original quote was a real line-item document, the dispute has a reference point. If it was a handshake and a ballpark, the argument is “he said, she said.” This is why Bradford Remodeling Co Concord home leads with a written price before work starts. It’s the document that ends most disputes before they start.
- Inspection records. If a rough-in is in dispute, the inspection sign-off (or its absence) is a factual record, not an opinion.
- A single running timeline. Date, event, what was said, in one document. A page of running timeline beats twenty scattered texts when a third party gets involved.
What you don’t do: withhold all payment, threaten to stop the crew mid-task, or hire someone else to “fix it” while the original contractor is still on the job. Each of those muddies who’s responsible for what.
Punch-List Items vs. Defective Work
Not every problem is the same kind of problem, and how you communicate it changes the response time. Punch-list items are cosmetic, caught at close-out, and corrected before final payment. Defective work is structural or functional, and it stops the job until it’s corrected.
- Punch-list (cosmetic, at close-out): a scuff on a cabinet front, a paint touch-up on a trim joint, a caulk line that needs a neater bead, a drawer pull that isn’t quite centered, a missing outlet cover.
- Defective work (stop and correct now): a plumbing leak in the wall, an outlet without a box, a floor that flexes underfoot, a cabinet separated from the wall, a range hood ducted into attic space, a drain that doesn’t pitch, a door that won’t latch because the frame is out of square, any tile that’s already cracking.
Communicate it in writing with the classification. “This is a punch-list item, I’d like it addressed at close-out” reads differently to a contractor than “this is defective work, we need to pause and correct it before proceeding.” Both are legitimate. The first says “noted.” The second says “the crew stops and the foreman is on site.” Getting the classification right is what makes either one work.
If a punch-list item isn’t corrected by close-out, it becomes a warranty item after the final walkthrough. Any reputable contractor puts the punch-list resolution in the close-out documents. When it’s handled right, the homeowner finishes the project with a signed written guarantee in hand and a list with every item checked off.
Why Concord Kitchens Fail in Specific Ways
Local conditions aren’t trivia. They’re the reason certain problems show up here more than elsewhere, and the reason a contractor who’s worked Concord kitchens knows what to look for before the first hammer swings.
Older walls. Much of Concord’s mid-century housing stock has plaster-over-lath walls and settled framing. Cabinet runs against those walls routinely need furring, not shimming. If a crew is trying to fix alignment with hinges instead of checking the wall, the fix won’t last.
Seasonal humidity. Concord’s dry summers and wetter winters move wood. Cabinet doors that fit perfectly in July can drag by January. KraftMaid and Wellborn both publish humidity ranges for cabinet installs, and the fix starts with proper humidity control in the home, not hinge adjustment.
Older electrical. Many Concord kitchens upgraded thirty years ago have a 100-amp panel and a kitchen circuit pattern that won’t support a modern appliance package. A dedicated circuit for the microwave, one for the dishwasher, one for an induction cooktop, and a GFCI-protected small-appliance circuit adds up. The panel has to be assessed before the appliances are purchased. If you’re remodeling a kitchen in Concord, the scope has to include the electrical capacity, not just the fixtures.
Seismic anchoring. California code requires cabinets to be anchored to the wall structure in a way that holds during seismic activity. A cabinet that “hangs on the wall” isn’t the same as one that’s anchored. If you can’t confirm how your cabinets are fastened, ask. This matters in a way it doesn’t in other parts of the country.
When we’re troubleshooting in Concord, these are the first four things we ask about. Most of the problems we hear about trace back to one of them.
Common Mistakes to Avoid
- Buying appliances after framing. The rough-in matches the appliance, not the appliance matching the rough-in. Purchase order first, rough-in second. The counter-depth refrigerator scenario at the top of this page happens because this order gets reversed.
- Tiling before inspection. Any rough-in that gets covered before inspection is a potential tear-out. Ask for the inspection sign-off before tile, backer, or stone goes down. If there isn’t one, stop.
- Approving finish work on an out-of-plumb wall. In Concord’s older homes, the wall is the first thing to check, not the last. Once the cabinets are in and trimmed, the correction is no longer a shim.
- Accepting a verbal scope. A written line-item price before any work starts is the difference between a 30-minute punch-list conversation and a three-week dispute. Get it in writing. Every time.
- Withholding the whole payment. Withhold only the disputed portion. Withholding everything gives the contractor a legitimate reason to stop and turns a $500 correction into a $20,000 fight.
- Treating a defective install as a punch-list item. A plumbing leak, an unanchored cabinet, or a ducted-into-attic hood is not “something to get to at the end.” It’s defective work, it needs to be corrected now, and calling it a punch-list item is how the correction gets pushed past close-out.
- Not confirming hood CFM against duct size. A range hood that struggles to clear smoke isn’t a cosmetic complaint. It’s a performance problem created by a mismatch that should have been caught at the spec stage. Coffee-can-level assumption about duct size costs a wall to fix later.
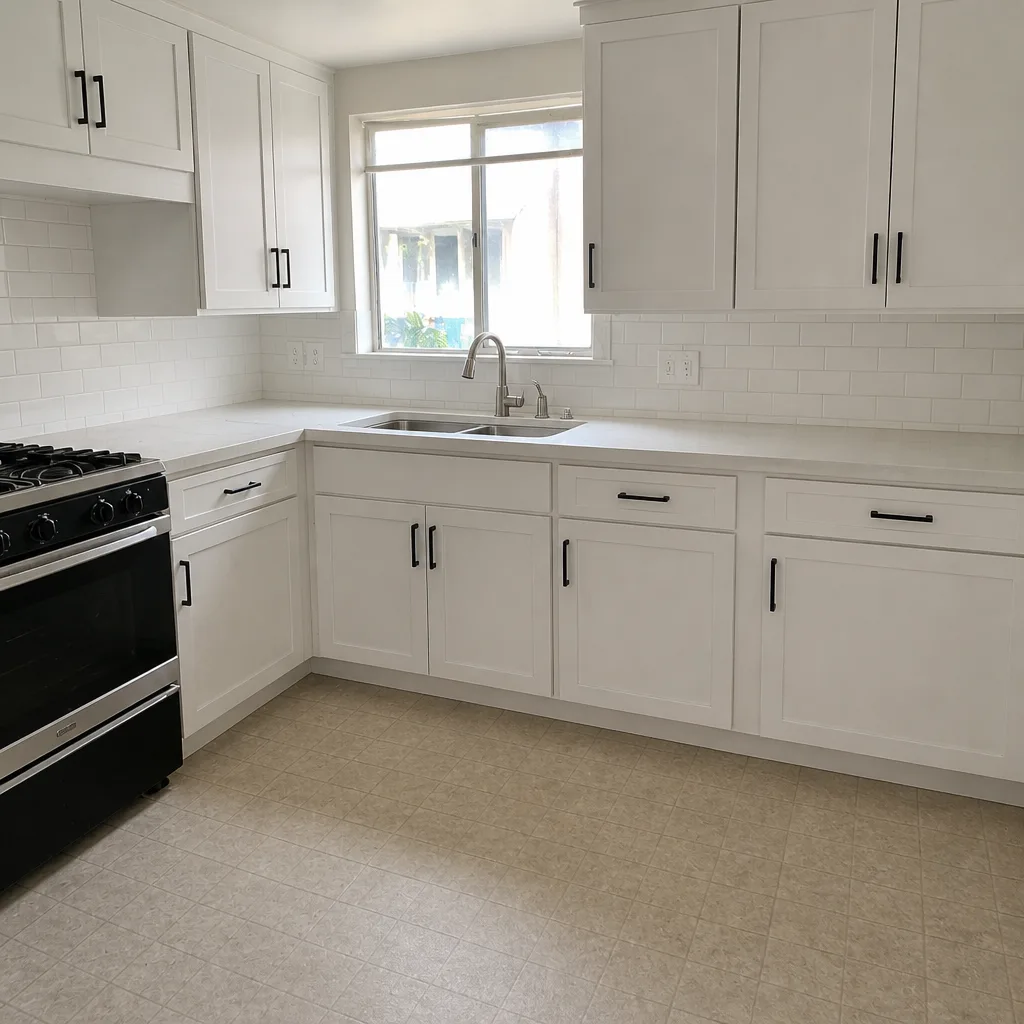
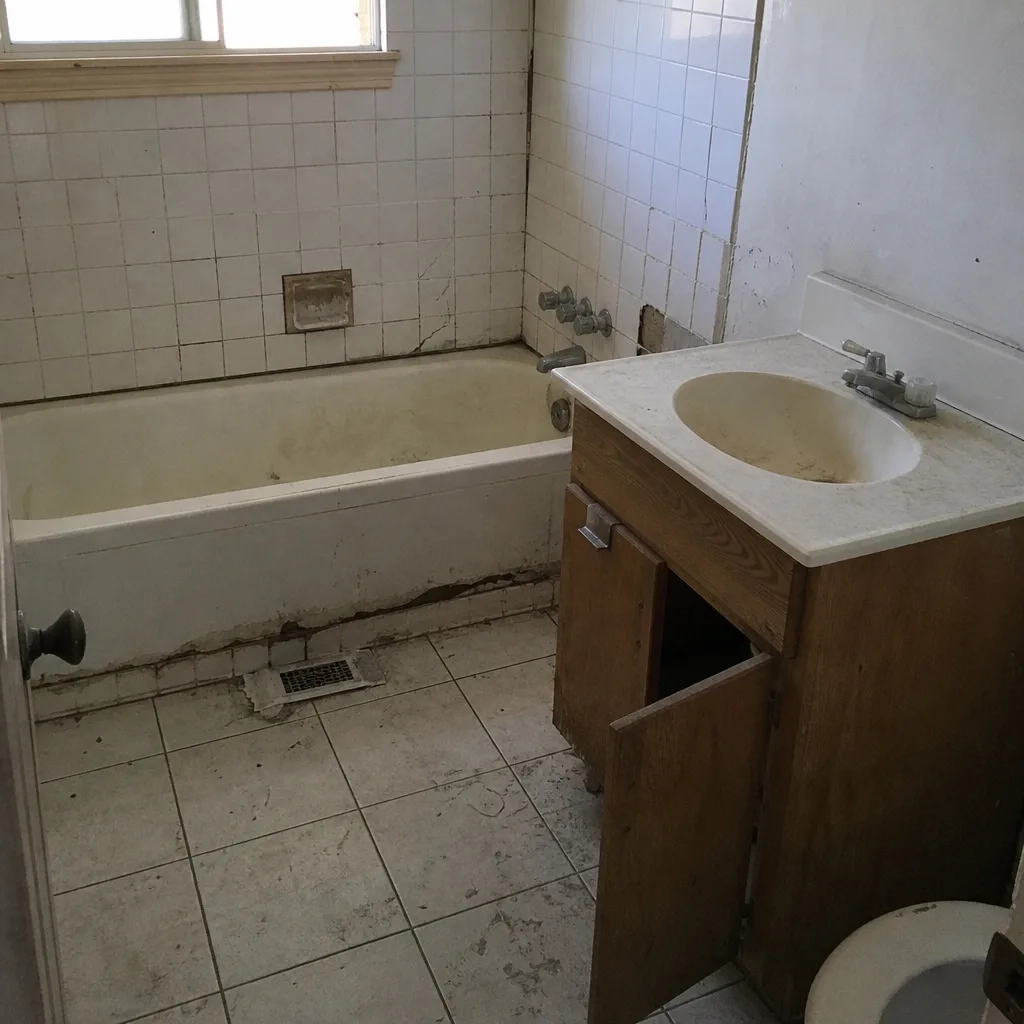
See the difference
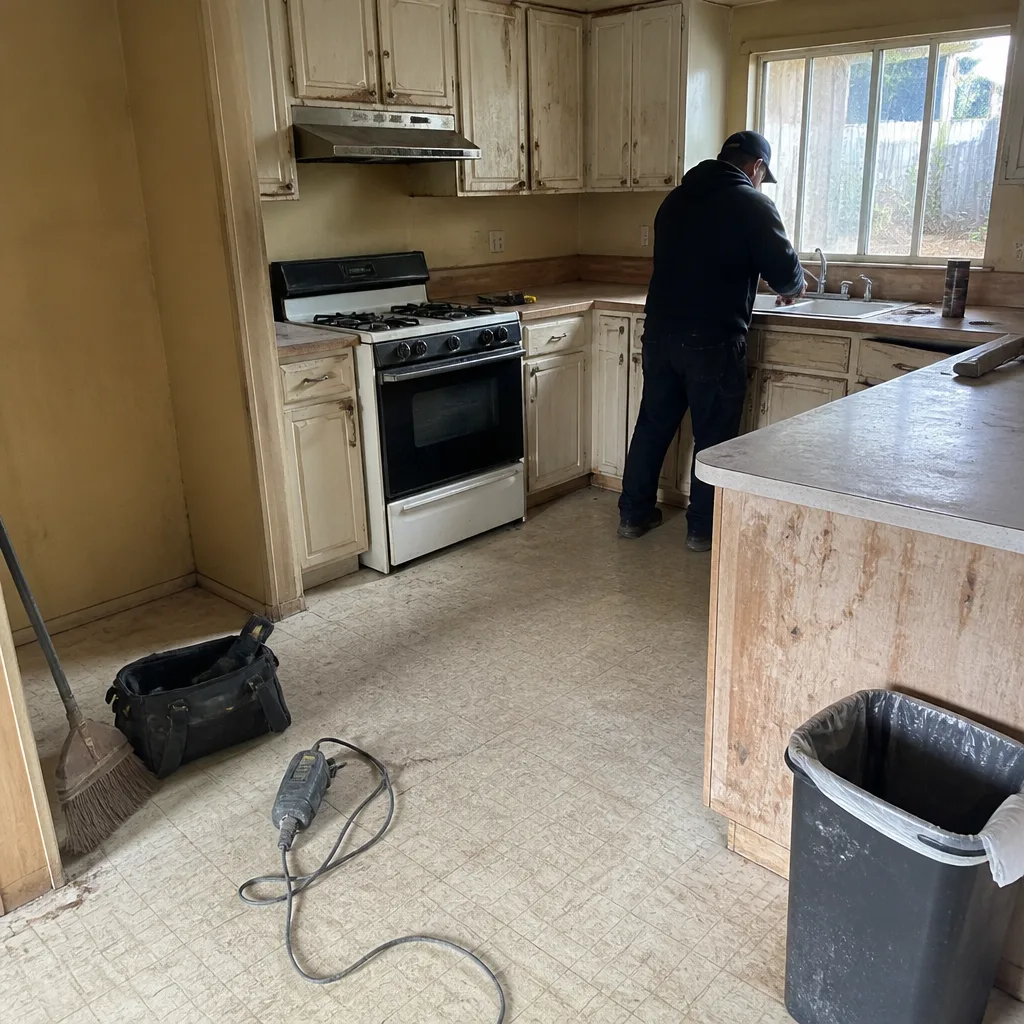 Before
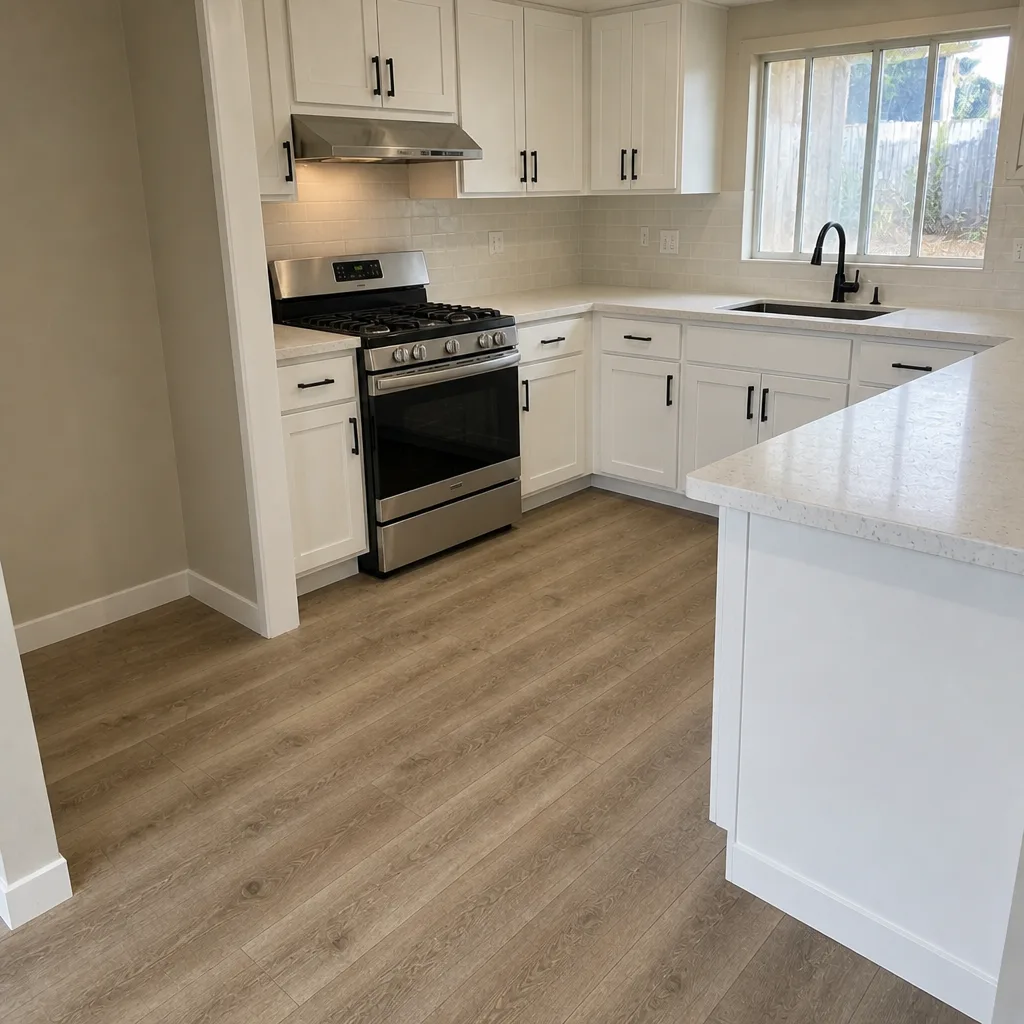 After
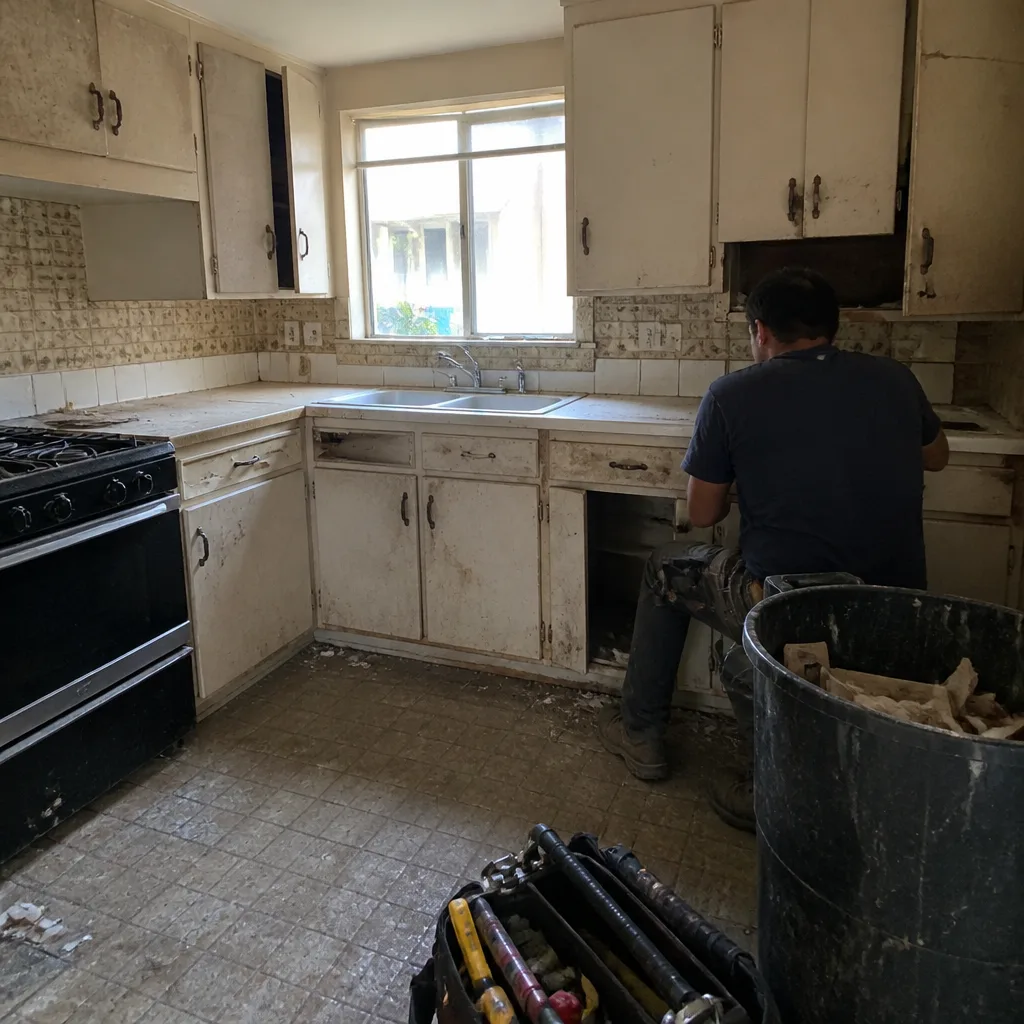 Before
 After
 Before
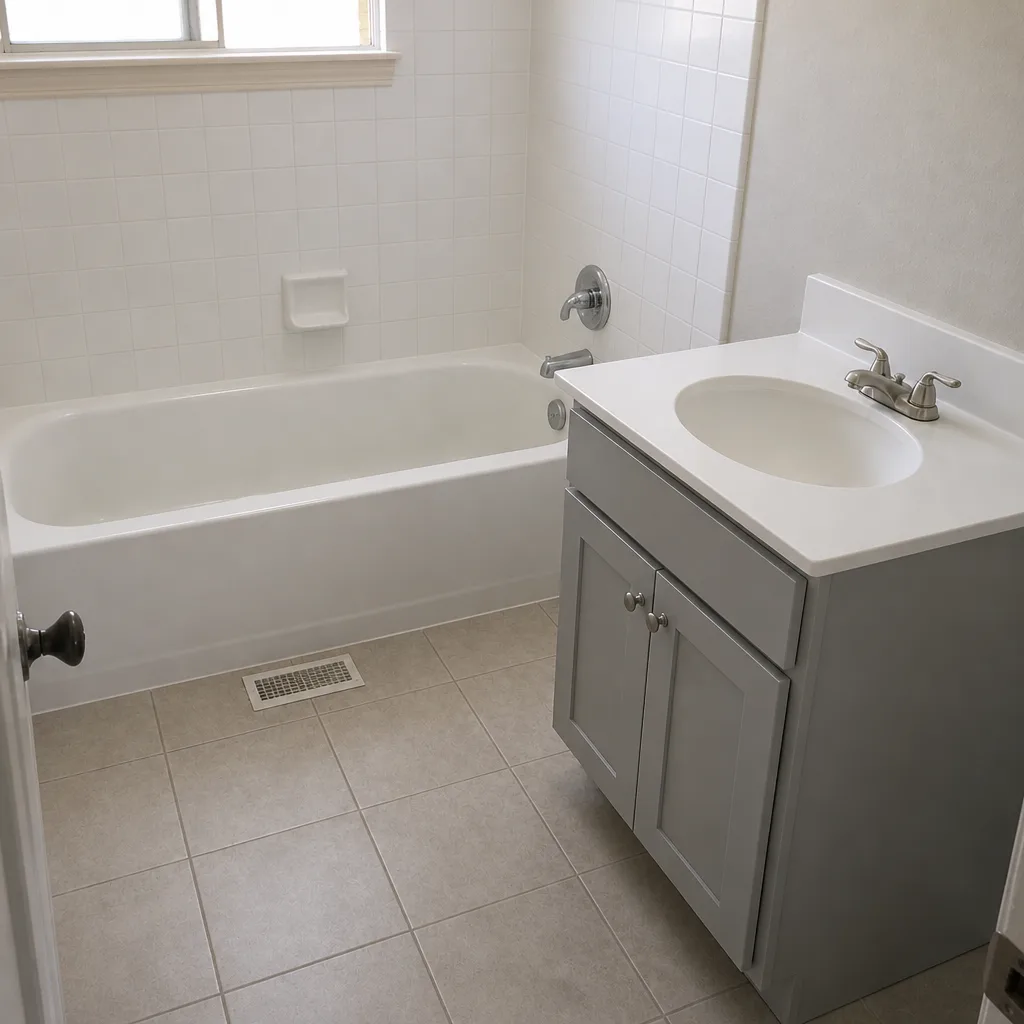 After
When to Call a Professional
Some problems are homeowner-level (a hinge adjustment, a caulk touch-up, a drawer pull that needs a screwdriver). Others need a professional on site before the situation gets worse. Call someone when: a plumbing rough-in has been covered without inspection; a cabinet has separated from the wall or moves under hand pressure; tile cracks within 30 days of install; the tile floor flexes; the range hood is ducted into an unconditioned attic; the panel can’t support the appliance load; or a manufacturer’s defect claim has stalled because the installer and the manufacturer are pointing at each other. Bradford Remodeling Co Concord runs kitchen remodels with a written price before any work starts, background-checked and uniformed technicians on every job, and the 365-Day Done Right Promise – a full-year written guarantee that returns and corrects any work that fails inside the guarantee period at no charge. A live person answers the phone 24 hours a day. Bradford Remodeling Co Concord offers free estimates in Concord – call (866) 476-6447.
Frequently Asked Questions
Almost always because the rough-in was framed for a “standard” refrigerator and the actual unit is counter-depth or oversized in width, height, or depth. Counter-depth units are shallower but often need more width and a taller cabinet opening. The correction depends on which dimension is off: width and height are typically a cabinet modification, depth is often a wall or cabinet repositioning. Before framing, confirm the exact model number against the rough-in drawing. Call (866) 476-6447 for a free estimate if the correction is still ahead of you.
Corrective work in an active Concord kitchen typically runs $800 to $2,500 for a cabinet reset or shim correction, $3,000 to $6,000 for a redo of tile that went down before a rough-in inspection, and more if a stone countertop has to be recut or replaced. The dominant variable isn’t the trade labor; it’s how much finished material has to come out to reach the problem. The cheapest fix is always the one caught before the covering goes on. Call (866) 476-6447 for a written estimate – the price you’re given is the price on the invoice.
Not if the price was written before work began, and the scope was documented line by line. That’s the whole point. A written line-item price is the document that keeps the number fixed, and any legitimate change (homeowner-selected upgrade, undiscovered code issue behind a wall) gets added as a written change order before the work happens, never as a number at the door. Call (866) 476-6447 – estimates are free.
Yes. Planned kitchen work in Concord runs through the city building department, and the permits and inspections are part of the job. That includes the plumbing rough-in inspection that catches the sequencing error at the top of this page before tile is set. Ask any contractor who quotes your kitchen where the permits are being pulled and who holds the inspection schedule. If the answer is vague, that’s the answer. Call (866) 476-6447 for a written estimate that lists the permit handling.
A punch-list item is cosmetic and gets corrected at close-out. Defective work is structural or functional and stops the job until it’s corrected. A scuff on a cabinet door is punch-list. A cabinet that moves under hand pressure is defective. The distinction matters because it changes the contractor’s response: punch-list items get scheduled, defective work gets halted and corrected immediately. Put the classification in writing so there’s no ambiguity about which conversation you’re having. Call (866) 476-6447 for an estimate on corrective work.
Yes. Every completed Bradford Remodeling Co Concord project carries the 365-Day Done Right Promise – a full-year written guarantee. If the work fails inside the guarantee period, we come back and correct it at no charge. That includes cabinet resets, plumbing corrections, and finish failures tied to the install. The guarantee is in writing and signed at job close, in your hand, alongside the documented scope. Call (866) 476-6447 for a free estimate.
The Bottom Line

Kitchen remodel problems mid project cluster around four failure points: layout scoping, appliance rough-ins, finish sequencing, and cabinet installation on walls that weren’t checked. Identify which category your problem falls into first, because that determines whether the fix is a hinge adjustment or a week of rework. Get the appliance specs in writing before framing. Confirm rough-in inspections before tile. Document disputes narrowly and in writing. Split punch-list items from defective work and communicate the difference. And when a problem is beyond homeowner-level, call someone who handles corrections on a written price with a guarantee behind it. Bradford Remodeling Co Concord works this way on every kitchen in Concord. Brands like Belgard and Unilock paving show up on the patios attached to those kitchens; the discipline is the same from the front door to the back. Call (866) 476-6447 for a free estimate – a live person answers, 24 hours a day, and the price is written down before a tool comes out.
Written by the team at Bradford Remodeling Co Concord.